.jpg)
Make.com is a no-code automation platform that lets you connect apps, automate tasks, and build custom workflows with an easy drag-and-drop interface—saving time and boosting productivity.
Let's Start with Make.com: Create First Scenario
Picture this: You're spending hours every week copying data between spreadsheets, manually generating content ideas, and juggling repetitive tasks that drain your productivity. What if you could automate all of this without writing a single line of code?
That's exactly what Make.com delivers—a powerful automation platform that connects your favorite tools and lets them work together seamlessly. Whether you're a marketing professional drowning in content calendars, a business owner managing multiple workflows, or simply someone looking to reclaim hours from your workweek, this guide will show you how to transform your productivity with Make.com.
We'll walk through everything from navigating the dashboard to building our first automation that connects Google Sheets with ChatGPT—all in under 30 minutes.
Navigate the Make.com Dashboard and Organization Settings Like a Pro
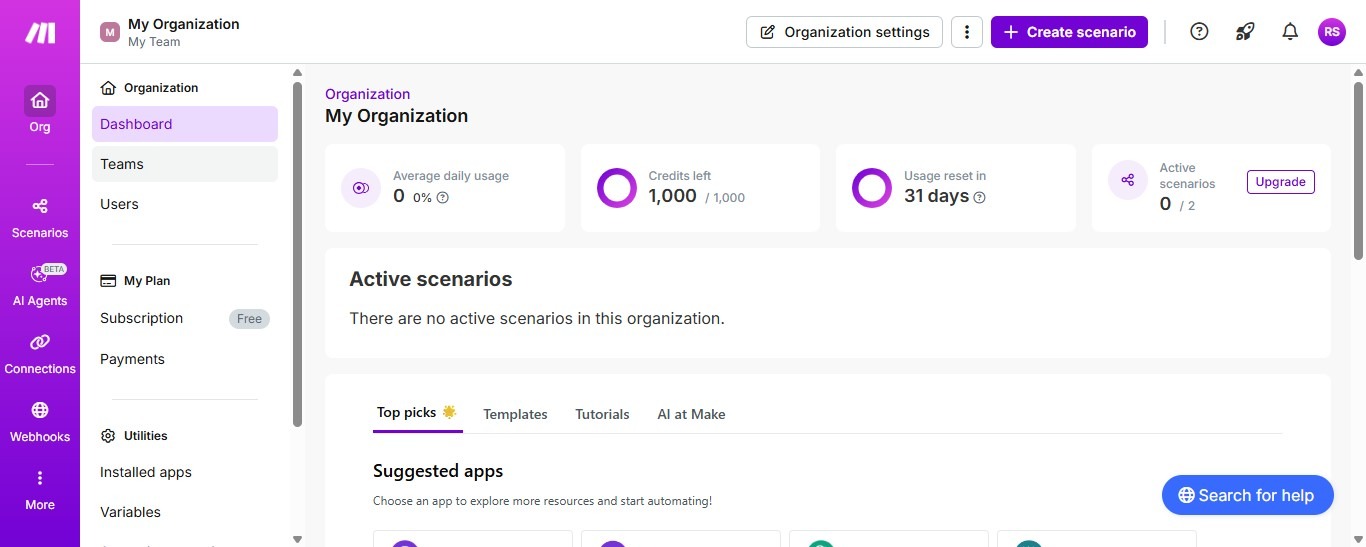
Your automation journey begins the moment you log into Make.com. After creating your account at make.com, you'll land on the main dashboard—your command center for all things automation. The interface is refreshingly intuitive, designed to get you building automations quickly rather than wrestling with complicated menus.
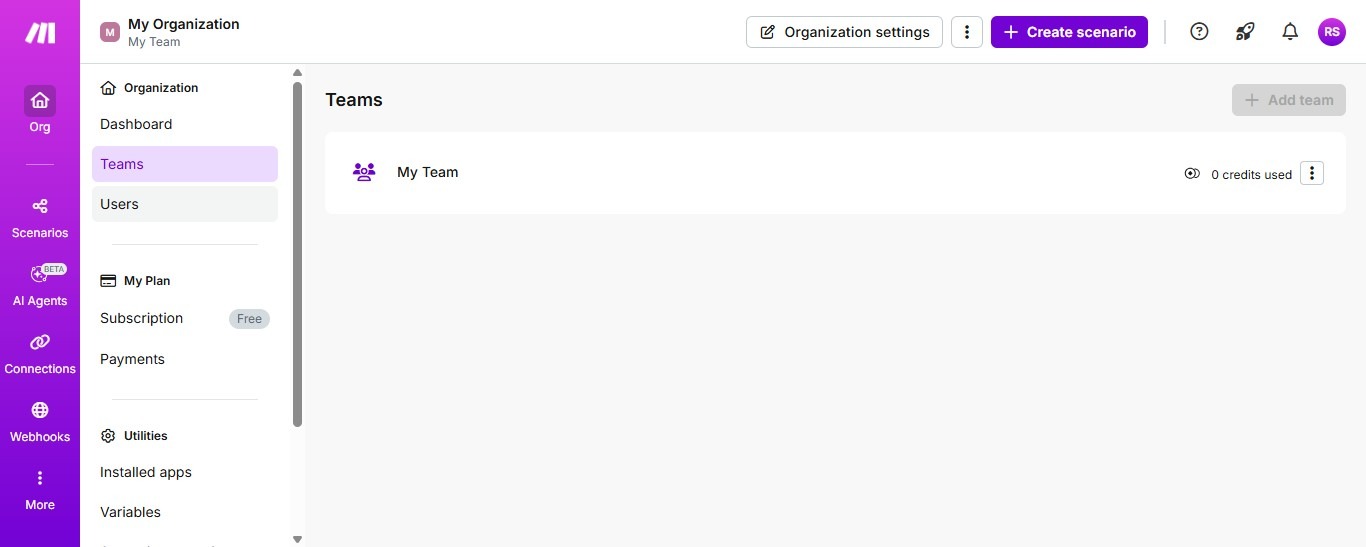
The left-side navigation menu is where you'll find everything you need. At the top, you'll see Teams, which takes you to your organization dashboard. From there, the menu expands to reveal several key sections:
- Teams - Manage collaborative workspaces for different projects or departments
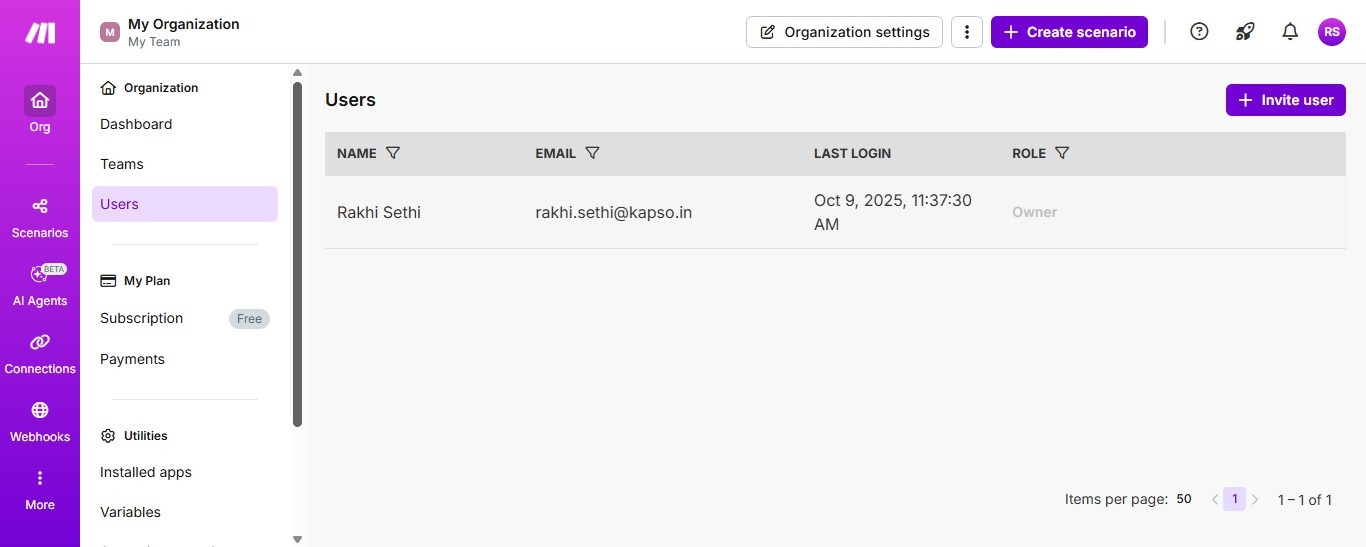
- Users - Add team members and control their access permissions
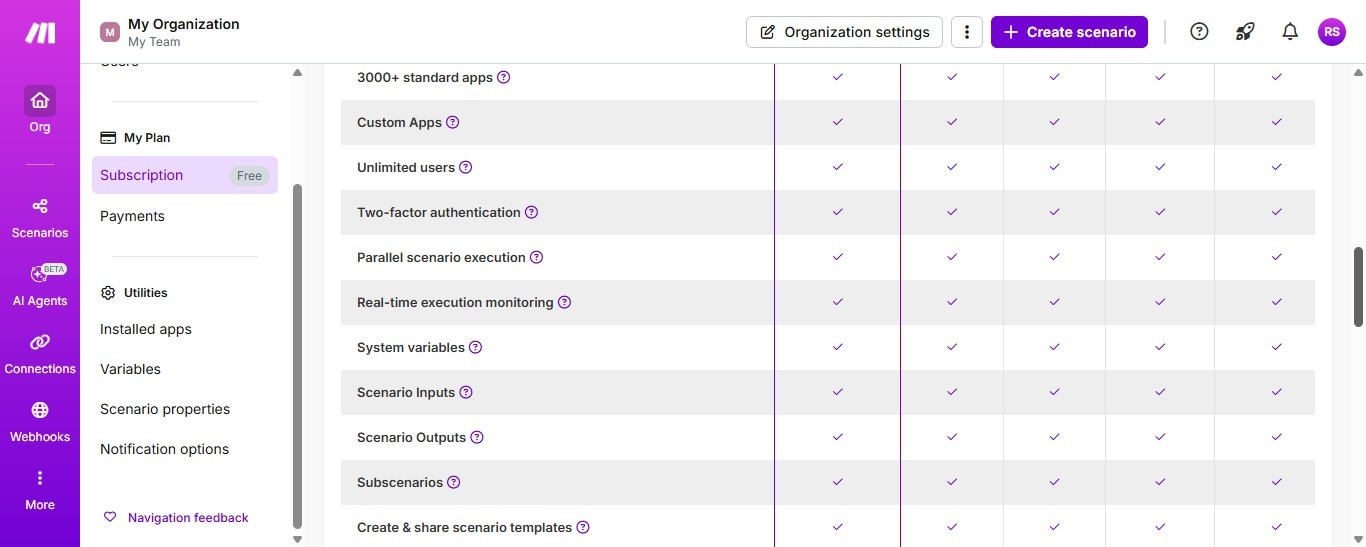
- My Plan - View your current subscription tier and available features
- Subscription - Upgrade or modify your plan as your automation needs grow
- Payments - Handle billing and payment methods
- Utilities - Access helpful tools and settings
- Installed apps - Manage your connected applications
The Users section deserves special attention if you're working with a team. Simply head to this area to invite colleagues, assign roles, and ensure everyone has the right level of access. You can add multiple users depending on your subscription plan, making collaboration straightforward and secure.
When exploring subscription options, scroll through the available plans to understand what features unlock at each tier. The free plan offers generous limits for getting started, while paid tiers provide advanced features like increased operations, premium apps, and priority support. Take a moment to review these options—you can always start free and upgrade as your automation needs expand.
The real magic happens in the Scenarios section, which we'll explore next. This is where you'll build, manage, and monitor all your automations. But first, let's understand what makes Make.com special: its ability to connect virtually any app or service through visual workflows that anyone can understand.
Building My First Automation: Connect Google Sheets with ChatGPT in Minutes
Now comes the exciting part—building my first automation. We're going to create something genuinely useful: an automation that watches your Google Sheets for new blog topics and automatically generates keywords, outlines, and introductions using ChatGPT.
No more staring at blank pages or struggling with content ideation. From your organization page, navigate to Scenarios and you'll see two options: "Build from scratch" or "Start with a template." While templates offer quick starts for common use cases, we'll build from scratch to understand the full process.
Click Create a new scenario and you'll enter Make.com's visual builder. Think of this as your automation canvas where you'll connect different apps like puzzle pieces. Start by clicking the plus icon to add your first module—this will be Google Sheets.
Setting Up Google Sheets as Your Trigger
Search for and select Google Sheets from the app list. You'll see several trigger options, but choose Watch Rows. This tells Make.com to monitor your spreadsheet for new entries—exactly what we need for our blog automation.
Click Create a connection and then Sign in with Google. After authorizing Make.com to access your Google account, you'll select your specific spreadsheet. In our example, we're using a "Blogs Plan Calendar" sheet, but you can use any spreadsheet that contains your content ideas. Here's where you make an important choice about how Make.com monitors your sheet:
- All - Processes every existing row as if just added (careful with this if you have many rows!)
- Since specific ID - Starts watching from a particular row number you specify
- Choose manually - Lets you select the exact starting point visually
For most cases, choosing All works well for new sheets, while Since specific ID is perfect for existing sheets where you only want to process new additions going forward.
Connecting ChatGPT for Content Generation
With Google Sheets configured, it's time to add the AI magic. Click the plus icon after your Google Sheets module and search for OpenAI (ChatGPT). Select Create a Completion from the available actions. You'll need to create another connection here, but this time for ChatGPT.
Click Create a connection and you'll see a field asking for your OpenAI API key. To get this key, visit the OpenAI platform in a new tab, log into your account, and navigate to API settings. Click Create new secret key, copy it, and paste it back into Make.com.
Once connected, you can configure how ChatGPT processes your spreadsheet data. Map the columns from your Google Sheet to the ChatGPT prompt.
For example, if your sheet has columns for "Topic" and "Keywords," you can create a prompt like: "Generate a compelling blog introduction and outline for a post about [Topic] using these keywords: [Keywords]."
The beauty of this setup is its flexibility. You can adjust the prompt to generate different types of content—from social media posts to email newsletters—all triggered by simple spreadsheet entries.
Set Up Triggers and API Connections for Seamless Workflow Automation
Understanding triggers and API connections is crucial for building powerful automations that run like clockwork. In Make.com, triggers determine when your automation starts, while API connections enable secure communication between different services.
Mastering Trigger Configuration
When setting up triggers, you have several timing options that control how often Make.com checks for new data:
- Run once - Perfect for testing your automation
- Every 15 minutes - The default for most free plans
- Every 5 minutes - Available on paid plans for time-sensitive workflows
- Instantly - Premium feature for real-time processing
The trigger interval you choose depends on your workflow needs. For our blog content automation, every 15 minutes works perfectly since content planning isn't typically time-critical. However, for customer support automations or order processing, you might need faster intervals.
API Connections and Security
API connections are the secure bridges between Make.com and your apps. When you enter an API key, you're essentially giving Make.com permission to act on your behalf—sending requests, retrieving data, and executing actions within that service. Each connection is encrypted and stored securely. You can manage all your connections from the Connections section in the main menu, where you can:
- Review which apps are connected
- Test connection validity
- Update API keys when they expire
- Revoke access when no longer needed
For maximum security, consider creating dedicated API keys for Make.com rather than using your primary keys. This way, you can revoke access specifically for Make.com if needed without affecting other integrations.
Advanced Trigger Options
Beyond basic scheduling, Make.com offers sophisticated trigger options through webhooks. These allow external services to trigger your automations instantly by sending data to a unique URL. This opens up possibilities like:
- Triggering automations from form submissions
- Responding to payment confirmations
- Processing incoming emails immediately
- Reacting to social media mentions in real-time
You'll find webhook configuration in the Webhooks section of your dashboard. Each webhook gets a unique URL that you can share with external services, creating truly responsive automations that react to events as they happen.
Transform Your Productivity: Real-World Automation Results and Next Steps
After setting up your Google Sheets to ChatGPT automation, the transformation in your workflow becomes immediately apparent. What once took hours of brainstorming and writing now happens automatically. Every time you add a blog topic to your spreadsheet, ChatGPT generates keywords, outlines, and introductions within minutes. No more creative blocks, no more time wasted on initial drafts. But this is just the beginning of what's possible with Make.com. Users typically report saving 10-15 hours per week once they identify and automate their repetitive tasks. Consider these real-world applications that businesses are using right now:
Content and Marketing Automation
- Automatically post blog content to multiple social media platforms
- Generate weekly newsletter content from RSS feeds and trending topics
- Create personalized email campaigns based on customer behavior
- Transform YouTube videos into blog posts using transcription services
Sales and Customer Service
- Route support tickets to the right team members based on keywords
- Send personalized follow-up emails after form submissions
- Update CRM records automatically from email interactions
- Generate quotes and proposals from spreadsheet data
Operations and Data Management
- Sync data between multiple platforms without manual entry
- Generate reports from multiple data sources automatically
- Back up important files across cloud storage services
- Monitor websites for changes and send notifications
Your Next Steps
Now that you've built your first automation, here's how to expand your Make.com expertise:
- Run your scenario - Click "Run once" to test your automation with real data
- Monitor performance - Check the execution history to ensure everything works smoothly
- Iterate and improve - Refine your prompts and add more modules as needed
- Explore templates - Browse Make.com's template library for inspiration
- Join the community - Connect with other users to share ideas and solutions
Start by identifying one more repetitive task in your workflow this week. Maybe it's invoice processing, social media scheduling, or data entry. Build a simple automation for it, and you'll quickly see how these small time savings compound into significant productivity gains.
Remember, every automation you create is an investment in your future productivity. While it might take 30 minutes to set up an automation today, it could save you hours every week for months or years to come.
That's the power of Make.com—turning repetitive tasks into automated workflows that run while you focus on what truly matters: growing your business, serving your customers, and doing the creative work that only you can do. Ready to automate more?
Head back to your Make.com dashboard, explore the available app integrations, and start building the automated workflow that will transform how you work. With over 1,500 apps available and countless possible combinations, the only limit is your imagination. Welcome to the world of no-code automation—your productivity will never be the same.
This blog was created using Hexus in <5 mins. Hexus enables you to create product demos, videos, and guides from one collaborative platform that automates 90% of content work with AI.
- Use it for website demand generation, product launches, and sales enablement
- Automatically blur sensitive data, add contextual highlights, callouts, and pointers.
- Collaborate across functions with shared folders and feedback, while localizing content into 20+ languages instantly.
-Track performance with real-time analytics and refresh content with just a few clicks
.png)